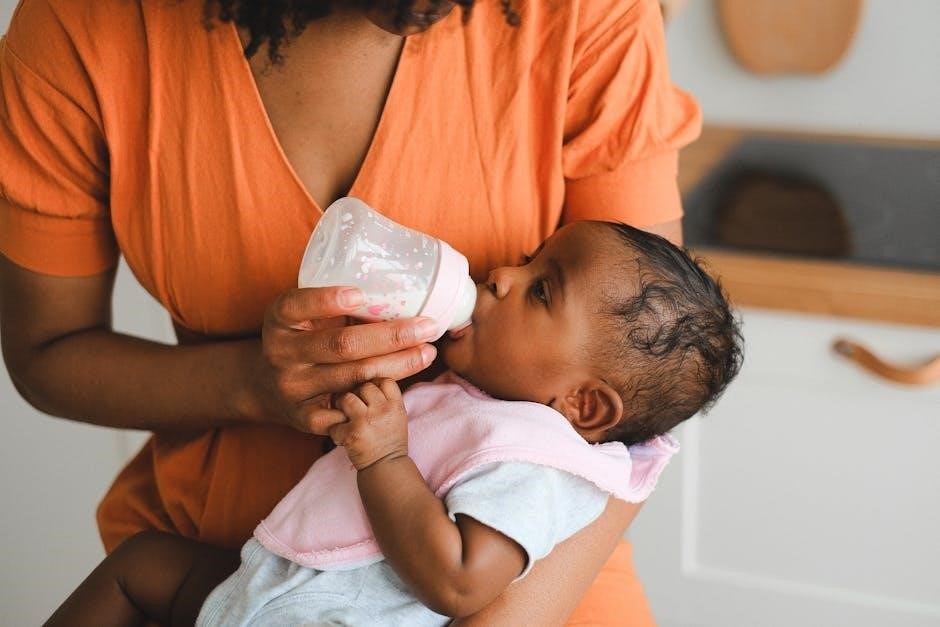
The First Years Bottle Warmer is a convenient, 2-in-1 device designed to safely warm bottles and sanitize pacifiers. It supports breast milk, formula, and baby food, ensuring quick and even heating. The compact design makes it easy to use, providing parents with a reliable solution for feeding time.
Overview of the Product and Its Features
The First Years Bottle Warmer is a versatile and efficient appliance designed to warm baby bottles and sanitize pacifiers. It features a compact design and intuitive controls, making it easy to use. The warmer supports various bottle types, including breast milk, formula, and baby food jars. Key features include quick heating, a built-in water reservoir, and a lift-out basket for easy access. Some models, like the Y1095AUT2, also offer remote control functionality for added convenience. The product is designed with safety and efficiency in mind, ensuring even heating and minimizing hot spots. It is an essential tool for parents seeking a reliable and convenient feeding solution.

Safety Precautions
Always unplug the unit before cleaning and never use glass bottles. Keep out of children’s reach and avoid hot surfaces. Test bottle temperature before feeding to prevent burns.
General Safety Warnings and Guidelines
Always unplug the bottle warmer before cleaning or maintenance. Avoid using abrasive cleaners or metal scourers, as they may damage the unit. Never leave the warmer unattended while in use. Keep the appliance out of children’s reach to prevent accidents. Ensure all parts are dry after cleaning to avoid mold growth. For models like Y1095AUT2 and Y6467, follow specific guidelines to prevent overheating. Regularly inspect the power cord for damage. Use only mild liquid soap for cleaning to maintain the product’s longevity and safety features.
Model-Specific Safety Instructions (e.g., Y1095AUT2, Y6467)
For the Y1095AUT2 model, ensure the locking feature is deactivated before first use by pressing the locking touch button until the pilot light turns off. The Y6467 remote bottle warmer requires the remote control to be used safely, avoiding immersion in water. Both models must be unplugged before cleaning, and descaling with 2 oz. of vinegar is recommended to prevent mineral buildup. Follow these steps to ensure safe operation and maintain product longevity. Always refer to the specific manual for detailed guidelines tailored to your model.

Preparing the Bottle Warmer for First Use
Before first use, wash the interior and accessories with lukewarm water and mild soap. Dry thoroughly and ensure all parts are clean and free of residue.

Initial Cleaning and Setup
Before using the bottle warmer for the first time, thoroughly clean the interior and all accessories with warm, soapy water. Rinse and dry with a clean cloth. Ensure no chemical residues remain. Next, place the unit on a flat, stable surface, preferably out of children’s reach. Plug in the device and familiarize yourself with its components, such as the warming chamber, water reservoir, and control buttons. Follow the manufacturer’s guidelines to avoid any setup errors and ensure optimal performance. Proper setup and cleaning are crucial for safety and effectiveness.
Understanding the Water Measuring Guide
The water measuring guide is essential for precise heating. Fill the water vial according to the recommended markings, typically 2-4 ounces, depending on bottle size and type. For breast milk or formula, use the lower mark to prevent overheating. Adjust water levels for wider or slimmer bottles to ensure even warming. Excess water can lead to hot spots, while too little may not heat adequately. Refer to the guide for specific bottle types, such as 4 oz. slim or 9 oz. wide neck, to achieve the perfect temperature every time, ensuring safety and efficiency.

Heating Instructions
Add water to the vial, place the bottle in the warming chamber, and plug in the unit. The warmer automatically starts, heating evenly for safe feeding.
Step-by-Step Guide to Warming Bottles
Ensure the bottle warmer is placed on a flat, stable surface and plug it into a nearby outlet.
Fill the water vial to the recommended level using the water measuring guide provided.
Place the bottle or baby food jar into the warming chamber, ensuring it fits securely.
If using a breast milk or formula bottle, remove the protective cap and teat before warming.
Close the warming chamber lid gently to maintain even heating.
Turn on the unit by pressing the power button or inserting the plug, depending on the model.
The warmer will automatically start heating; monitor the process to avoid overheating.
Once warmed, carefully remove the bottle using the lift-out basket if available.
Always shake the bottle and test the temperature on the inside of your wrist before feeding your baby.
For specific bottle types, refer to the recommended heating times in the manual for optimal results.
This process ensures safe and efficient warming of your baby’s bottle or food.
Recommended Heating Times for Different Bottle Types
For optimal results, follow these guidelines for heating various bottle types:
– Disposable 4 oz. bottles: 3-4 minutes.
– Disposable 8 oz. bottles: 5-6 minutes.
– Glass bottles: 6-7 minutes.
– Wide neck bottles: 5-7 minutes.
– Breast milk bottles: 4-5 minutes to preserve nutrients.
– Formula bottles: 5-6 minutes for even dissolving.
– Baby food jars: 6-8 minutes, depending on consistency.
These times are approximate and may vary based on the bottle material and starting temperature. Always test the temperature before serving to your baby. For specific models like Y1095AUT2 or Y6467, refer to the manual for precise timing recommendations.

Sanitizing Instructions
Sanitizing Instructions: Use a vinegar solution to clean the warming chamber. Pour 2 oz. of vinegar into the chamber, let it stand for an hour, then rinse thoroughly. For pacifiers, place them in the lift-out basket, add water, and follow the sanitizer function instructions. This ensures a hygienic process for all accessories. Always unplug the unit before sanitizing and refer to the manual for model-specific guidance, such as for Y1095AUT2 or Y6467 models.
How to Sanitize Bottles and Pacifiers
To sanitize bottles and pacifiers using The First Years Bottle Warmer, fill the water vial to the recommended level for sanitizing. Place the items in the lift-out basket and secure the sanitizer lid. Pour the water into the warming chamber, ensuring proper distribution. Allow the solution to stand for the recommended time, typically 5-10 minutes, before rinsing thoroughly with clean water. This method effectively kills bacteria and ensures a hygienic process. For specific models like Y1095AUT2, refer to the manual for exact measurements and timing. Regular sanitizing helps maintain cleanliness and safety for your baby.
Using the 2-in-1 Bottle Warmer and Sanitizer
The First Years 2-in-1 Bottle Warmer and Sanitizer offers a dual-function design that combines bottle warming and sanitizing in one unit. To use the sanitizer, fill the water vial to the marked level and place the items in the lift-out basket. Secure the lid and activate the sanitizing cycle. For warming, insert the bottle into the warming chamber, add water according to the guide, and select the desired warming time. The intuitive controls make it easy to switch between functions, ensuring efficient and safe preparation of your baby’s feeding essentials. This multi-functional feature streamlines daily routines, providing convenience for parents.

Maintenance and Troubleshooting
Regularly clean the bottle warmer with mild soap and water. Descale every 1-2 months to prevent mineral buildup. Troubleshoot issues like uneven heating by checking power supply and water levels.
Cleaning the Bottle Warmer
Regular cleaning is essential to maintain the efficiency and hygiene of the bottle warmer. Always unplug the unit before cleaning. Wipe the exterior and interior, including the warming chamber, with a damp cloth and mild soap. The lift-out basket should be removed and washed separately with soap and water. For descaling, pour 2 oz. of vinegar into the warming chamber, let it sit for 1-2 hours, then rinse thoroughly. Avoid harsh chemicals or abrasive cleaners. Dry all parts completely after cleaning to prevent water spots and bacterial growth. This routine ensures optimal performance and safety.
Troubleshooting Common Issues
If the bottle warmer does not turn on, ensure it is properly plugged in and the outlet is functioning. For uneven heating, check that the bottle fits correctly and water levels match the guide. If the unit leaks, inspect the water reservoir for cracks or misalignment. Mineral buildup can cause inefficiency; descale by soaking with vinegar. Clean the warming chamber regularly to prevent residue. If issues persist, unplug and reset the unit. Refer to the manual for detailed solutions or contact customer support for assistance. Regular maintenance can prevent many common problems, ensuring reliable performance.

Warranty and Manufacturer Support
The First Years Bottle Warmer is backed by a limited warranty. For inquiries or issues, contact Tomy’s customer service at 800-533-6708 or via their support website.

Understanding the Warranty Terms
The First Years Bottle Warmer is covered by a limited warranty, ensuring protection against manufacturing defects. The warranty period varies depending on the product model and region. To make a claim, users must provide proof of purchase and contact Tomy’s customer service. The warranty does not cover damages resulting from misuse or improper maintenance. Regular cleaning and adherence to the provided instructions are essential to maintain warranty validity. For detailed terms, refer to the official manual or contact the manufacturer directly.
Contacting Customer Service
For assistance with The First Years Bottle Warmer, contact Tomy’s customer service at 800-533-6708 or via email at parentservicecenter@tomylamina.com. Support is available to address product inquiries, troubleshooting, and warranty-related issues. When reaching out, have your product model number (e;g., Y1095AUT2 or Y6467) and purchase details ready. The customer service team is dedicated to providing helpful solutions and ensuring a positive user experience with The First Years products.
