Getting Started with Mod Podge Resin
Mod Podge Resin is a two-part clear epoxy perfect for crafting. Mix equal parts resin and hardener for a food-safe, low-odor finish. Ideal for creative projects.
Mod Podge Resin is a two-part epoxy system designed for crafting and DIY projects. It consists of a clear resin and a hardener that, when mixed together, create a durable, glossy finish. Known for its ease of use, Mod Podge Resin is food-safe and has low VOCs, making it ideal for home decor, jewelry, and other creative applications. Unlike traditional epoxies, it is specifically formulated for crafters, offering a user-friendly experience. The resin is versatile, allowing artists to incorporate photos, embellishments, and other materials into their designs. It’s perfect for beginners and experienced crafters alike, providing a professional-looking result for custom pieces. With its clear, shiny finish, Mod Podge Resin brings creativity to life in countless projects.
Safety Guidelines for Working with Mod Podge Resin
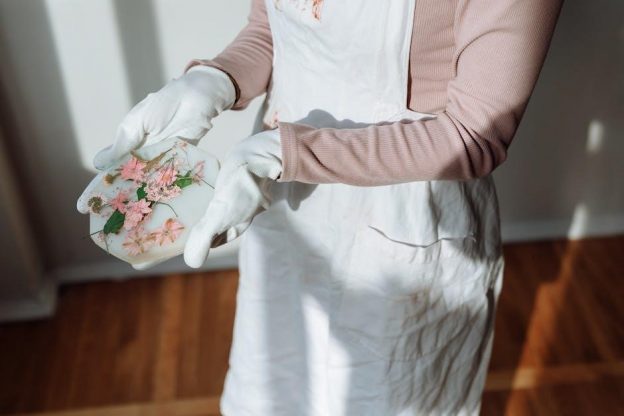
When working with Mod Podge Resin, ensure a well-ventilated workspace to avoid inhaling fumes. Wear protective gloves and eyewear to prevent skin and eye irritation. Avoid ingestion and keep the product away from children and pets. Use a disposable mixing stick and work surface cover to contain spills. In case of skin contact, wash thoroughly with soap and water. If irritation persists, seek medical advice. Follow the 1:1 mixing ratio strictly to prevent improper curing. Keep the resin and hardener away from heat sources and open flames. Refer to the product’s safety data sheet for detailed precautions. Always follow the manufacturer’s instructions to ensure a safe crafting experience with Mod Podge Resin.
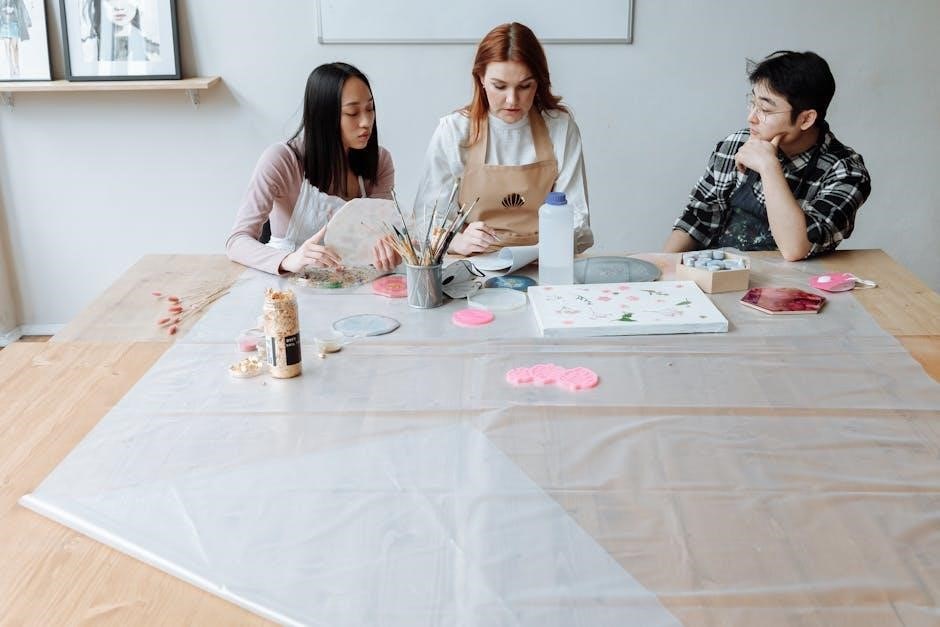
Essential Supplies for Mod Podge Resin Projects

Gather the necessary supplies for a smooth experience with Mod Podge Resin. Start with the two-part resin and hardener. Use disposable mixing cups and stir sticks for accurate measurements and cleanup. A digital scale ensures precise ratios, while protective gloves and eyewear safeguard against spills. Cover your workspace with a silicone mat or disposable surface to prevent sticking. Foam brushes and soft paintbrushes are ideal for applying thin, even coats. For embellishments, add materials like glitter, fabric, or photos. A well-ventilated area is crucial to avoid inhaling fumes. Optional tools include a heat gun for bubbles and a UV torch for curing. These supplies will help you achieve professional-looking results with Mod Podge Resin projects.
Mixing Mod Podge Resin
Mixing Mod Podge Resin requires a precise 1:1 ratio of resin and hardener. Stir thoroughly for 3 minutes until fully combined. Avoid under-mixing for proper curing.
Preparing the Workspace and Materials
Before starting, ensure your workspace is clean and well-ventilated. Cover your work surface with protective materials like newspapers or a plastic tablecloth to prevent spills. Gather essential supplies: Mod Podge Resin components, mixing cups, stir sticks, and measuring tools for accurate ratios. Wear protective gear such as gloves and safety goggles. Prepare your materials by cleaning and drying the surface you’ll be working on. Lightly sand the surface for better adhesion. Have tools ready for application, like foam brushes or soft paintbrushes. Check the instructions for the correct mixing ratio, typically 1:1 for Mod Podge Resin. Ensure all materials are within the recommended temperature and humidity range for proper curing. Proper preparation ensures a smooth and successful project outcome.
Understanding the 1:1 Mixing Ratio
Mod Podge Resin requires a precise 1:1 mixing ratio of resin to hardener. Measure equal volumes of each component using measuring cups or scales for accuracy. This ensures proper curing and a durable finish. If the ratio is incorrect, the resin may not cure correctly or could remain sticky. Start by pouring both parts into a mixing cup, then use a stir stick to blend thoroughly. Mix slowly to avoid air bubbles. Continue stirring until the mixture is clear and free of streaks. Properly mixed resin will transition from cloudy to transparent. Avoid overmixing, as it can introduce air bubbles. Always follow the instructions for precise measurements to achieve optimal results.
Proper Stirring Techniques for Optimal Results
Proper stirring is crucial for achieving a smooth, bubble-free finish with Mod Podge Resin. Use a silicone stirrer or mixing stick to combine the resin and hardener. Stir slowly and thoroughly, ensuring no streaks remain. Start with circular motions, then switch to figure-eight patterns to cover the entire surface. Scrape the sides and bottom of the mixing cup to incorporate all material. Stir for about 3 minutes until the mixture transitions from cloudy to clear. Avoid vigorous stirring, as it introduces air bubbles. If bubbles form, allow the mixture to sit for a few minutes before stirring again gently. Proper stirring ensures the resin cures evenly and adheres well to surfaces. Avoid overmixing, as it can lead to excess heat and affect curing. Once fully blended, pour immediately to prevent thickening.
Applying Mod Podge Resin
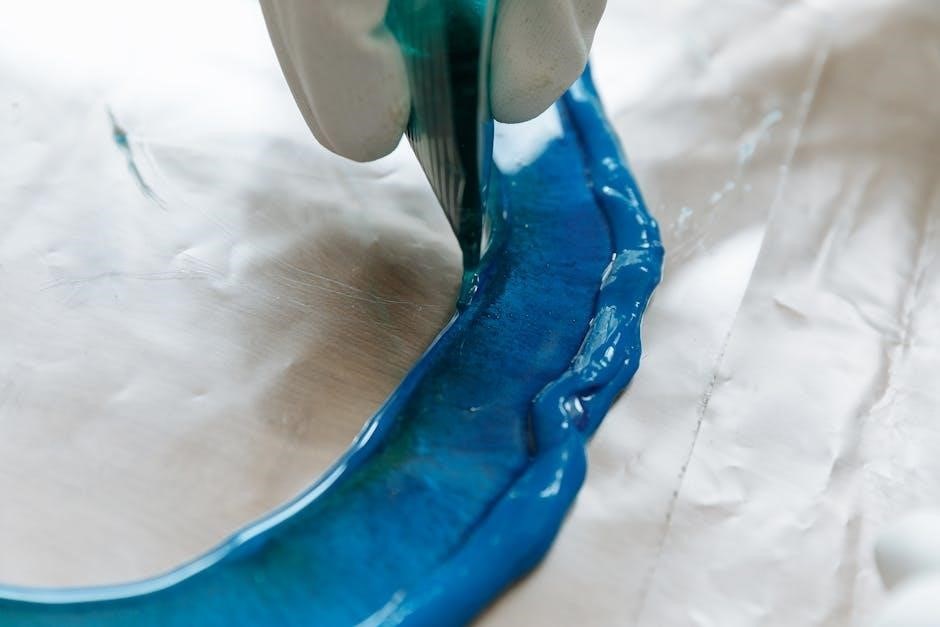
Apply a thin, even coat to your surface using a foam brush. Work in small sections for better coverage. Allow the first coat to dry before adding embellishments or additional layers for a polished finish.
First Coat: Applying Mod Podge to Photos or Surfaces
Begin by applying a thin, even layer of Mod Podge Resin to your photo or surface using a foam brush or soft paintbrush. Ensure complete coverage for a professional finish. Work in a well-ventilated area and avoid over-application to prevent drips. Allow the first coat to dry completely, following the recommended curing time, before adding embellishments or additional layers. This step ensures a strong bond and a smooth base for further creativity. Proper application is key to achieving a durable, glossy finish with your Mod Podge Resin project.
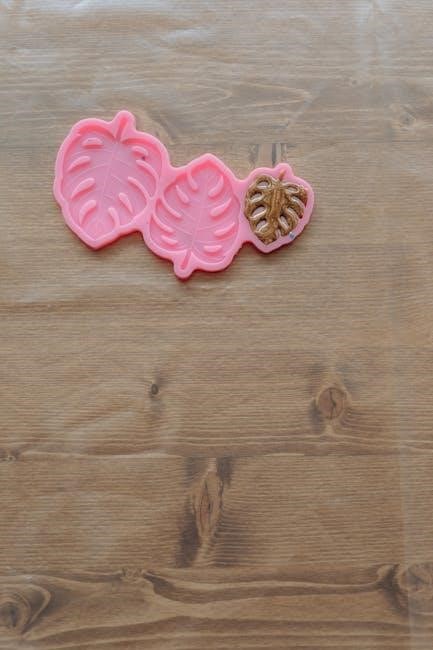
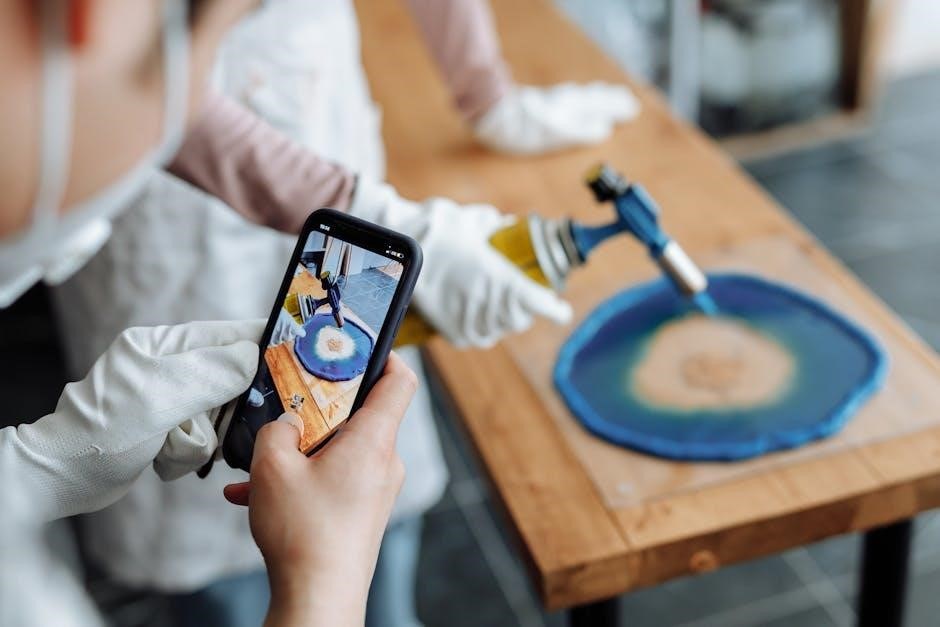
Adding Embellishments and Creative Details
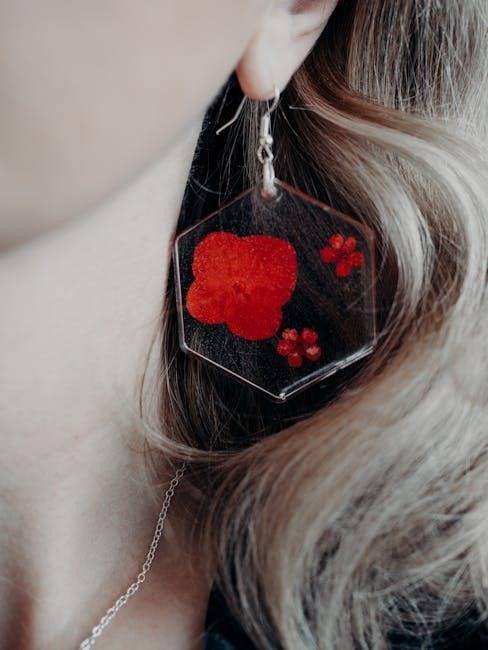
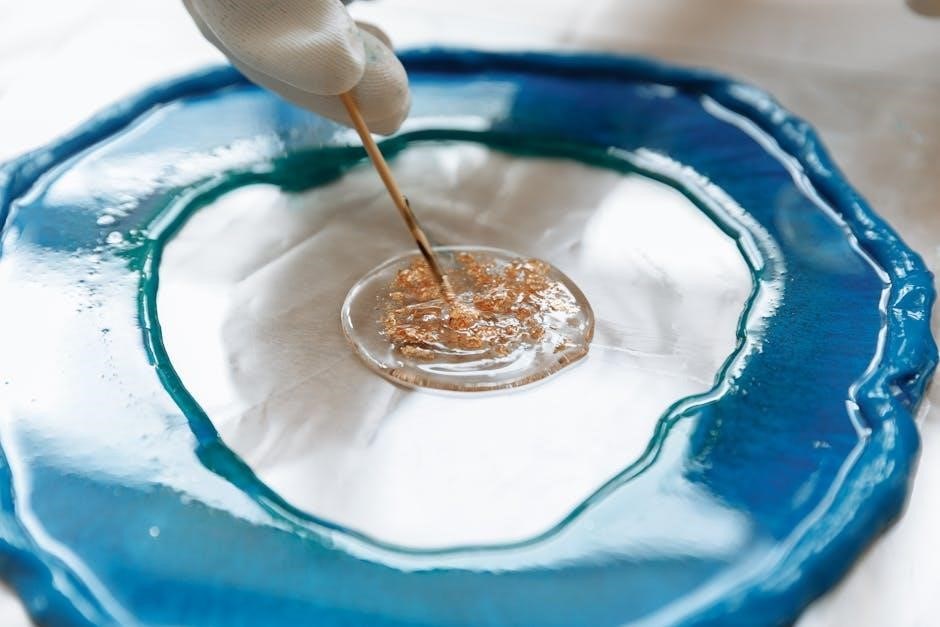
Add embellishments like glitter, beads, or fabric to your project after applying the first coat of Mod Podge Resin. Gently press items into the surface for a secure bond. Use a soft brush to ensure materials are evenly distributed. Avoid overloading the surface, as this can cause cracking. For intricate details, apply small amounts of resin with a toothpick or fine brush. Allow embellishments to set slightly before adding a second coat. This layer seals and protects the design, ensuring a durable, glossy finish. Experiment with creative elements like crushed glass or metallic powders for unique effects. Properly embedding embellishments enhances the overall appearance and longevity of your Mod Podge Resin project.
Sealing and Curing the Resin
After applying the final coat of Mod Podge Resin, ensure the surface is smooth and free of dust or debris. Allow the resin to cure in a well-ventilated area, following the recommended 24-hour curing time. Avoid touching the surface during this period, as it may leave fingerprints. Once cured, the resin is food-safe and non-toxic. For added protection, apply a clear varnish or Mod Podge sealant if desired. Proper curing ensures a hard, glossy finish. Keep the project away from direct sunlight and heat sources during the curing process for optimal results. Allow the resin to fully harden before using or displaying your finished piece. This step guarantees a professional-looking and long-lasting finish for your Mod Podge Resin project.
Troubleshooting Common Issues
Common issues include bubbles, uneven surfaces, or uncured resin. Use a torch to remove bubbles and ensure proper mixing. Check ratio accuracy and curing conditions to avoid sticky finishes. Environmental factors like temperature or humidity can affect results. Always follow safety guidelines to prevent and resolve issues effectively.
Fixing Bubbles and Uneven Surfaces
Bubbles and uneven surfaces are common issues when working with Mod Podge Resin. To fix bubbles, gently pass a torch over the surface or use a toothpick to pop them; For uneven areas, lightly sand once cured and apply an additional thin coat. Proper mixing and a stable workspace can prevent these issues. Ensure the resin and hardener are at room temperature and mixed thoroughly. Avoid stirring too vigorously, as this can introduce air. If unevenness persists, check the surface for imperfections before applying resin. Patience and careful application are key to achieving a smooth, professional finish. Always follow safety guidelines when using heat tools or sanding materials.
Preventing Sticky or Uncured Resin
Sticky or uncured resin can occur if the mixing ratio is incorrect or the environment is too humid. Ensure the 1:1 ratio is strictly followed and mix thoroughly. Use a clean, dry surface and avoid applying in damp conditions. Allow the resin to cure in a well-ventilated area at room temperature. If sticky spots appear after curing, lightly sand and reapply a thin coat. Proper preparation and adherence to instructions will help prevent these issues. Always follow safety guidelines and let the resin cure fully before handling. This ensures a durable, glossy finish for your projects. Patience and attention to detail are key to achieving professional results with Mod Podge Resin.