Welcome to the Rainbow Loom Instruction Manual PDF, your ultimate guide to mastering the art of creating stunning bracelets, charms, and designs. This comprehensive resource is designed for crafters of all skill levels, offering step-by-step instructions, tips, and tricks to help you unlock your full creative potential. Whether you’re a beginner or an advanced crafter, this manual provides everything you need to get started and refine your techniques. Discover how to set up your loom, prepare materials, and explore a variety of patterns, from simple to intricate. Perfect for learning at your own pace, this guide ensures a fun and rewarding crafting experience.
Overview of the Rainbow Loom and Its Benefits
The Rainbow Loom is a versatile crafting tool that allows users to create colorful bracelets, charms, and other designs using rubber bands. Its popularity stems from its ease of use, compatibility with various looms, and the endless creative possibilities it offers. The loom has won numerous awards, including “Toy of the Year,” making it a trusted choice for crafters of all ages. It fosters creativity, fine motor skills, and patience, while its step-by-step guides ensure a fun and rewarding experience for beginners and advanced users alike.
Understanding the Structure of the Instruction Manual
The Rainbow Loom Instruction Manual PDF is a well-organized guide designed to cater to crafters of all skill levels. It begins with basic setup and foundational techniques, progressing to intermediate and advanced projects. Each section is clearly divided, offering step-by-step instructions, diagrams, and tips for troubleshooting common issues. The manual also includes downloadable patterns, video tutorials, and a checklist of necessary tools and materials. This structured approach ensures a seamless learning experience, making it easy to navigate and master the art of Rainbow Loom crafting.
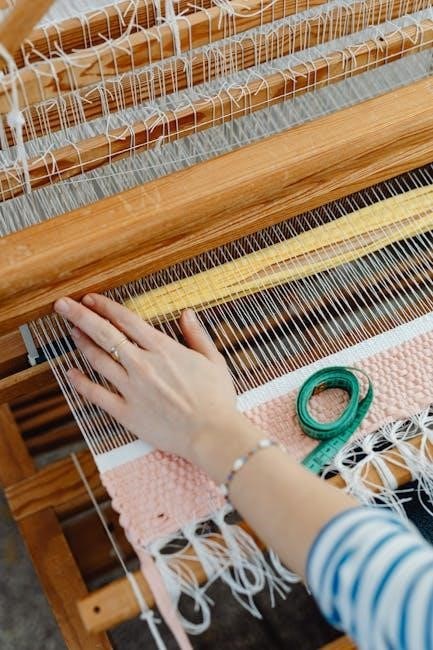
Setting Up Your Rainbow Loom
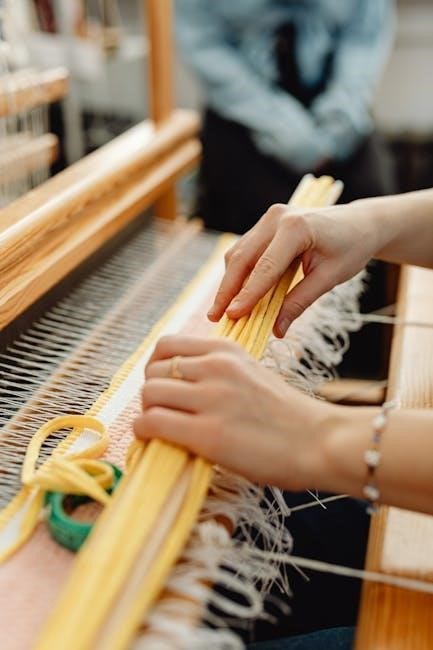
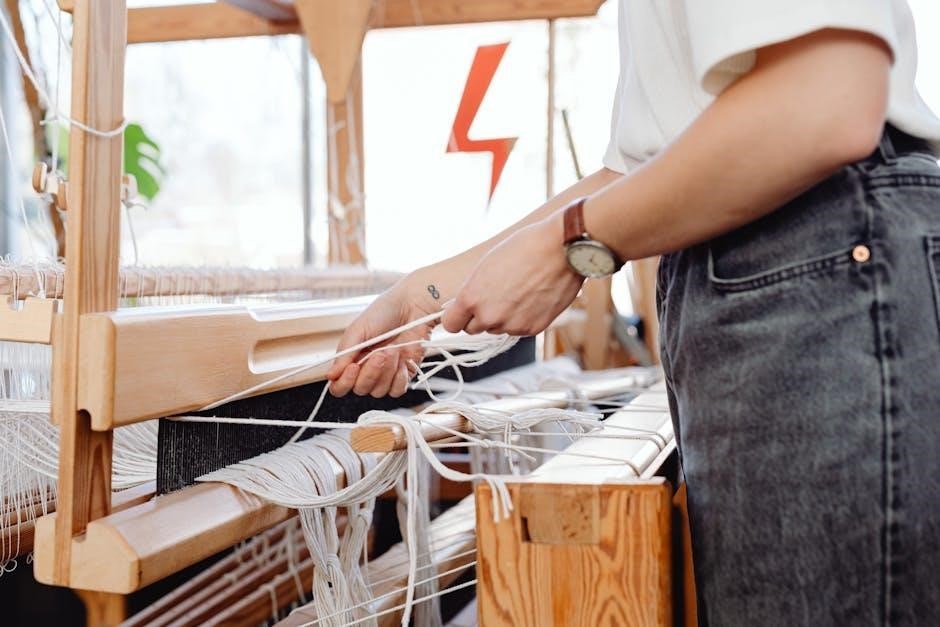
Begin your crafting journey by setting up your Rainbow Loom. Carefully unbox and assemble the loom, ensuring all pegs are securely in place. Organize your workspace and prepare rubber bands for a smooth start. This essential step ensures stability and ease of use, making it perfect for crafters of all skill levels to begin creating beautiful designs.
Unboxing and Assembling the Loom
Unboxing your Rainbow Loom is an exciting first step! Carefully remove the loom, pegs, and Allen wrench from the packaging. Follow the included instructions to assemble the loom by attaching the pegs to the base. Ensure all parts are securely tightened using the Allen wrench for stability. Double-check that the loom is properly aligned and the tension is adjusted for optimal performance. Once assembled, your loom is ready for use, providing a sturdy foundation for creating beautiful bracelets and designs. This step is crucial for a smooth crafting experience.
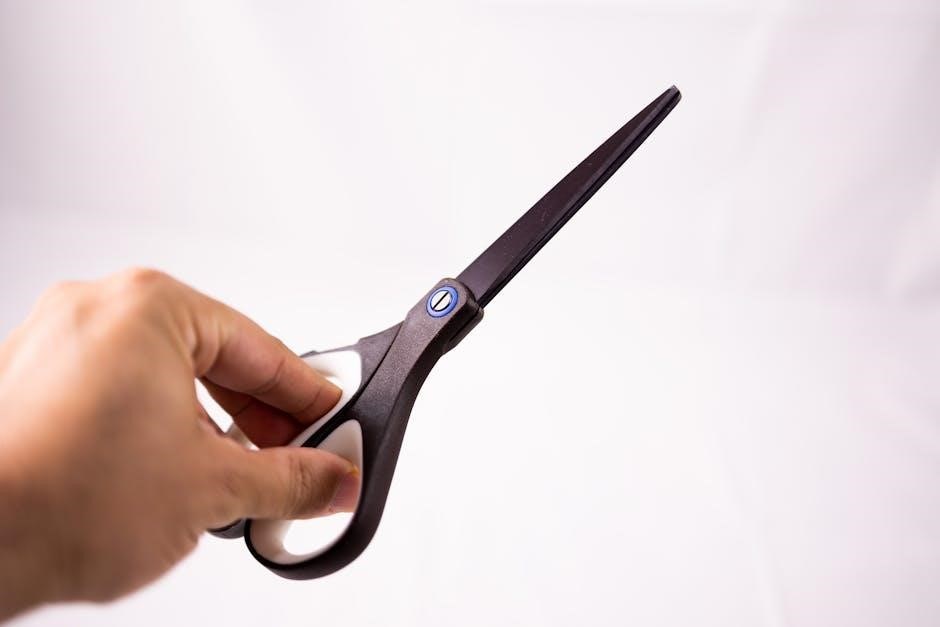
Preparing Rubber Bands and Tools
Start by organizing your rubber bands by color for easy access during crafting. Gather essential tools, including the provided hook, scissors, and a small container for storage. Sort bands into groups to streamline your workflow. Ensure your hook is readily available for manipulating bands, and keep scissors nearby for trimming excess material. A well-organized workspace enhances efficiency and creativity. Proper preparation ensures a smooth and enjoyable crafting experience with your Rainbow Loom.

Basic Techniques for Beginners
Master fundamental techniques like creating the foundation, looping, and securing bands. These essential skills form the basis for all Rainbow Loom projects, ensuring a solid start.
Creating the Foundation: Step-by-Step Guide
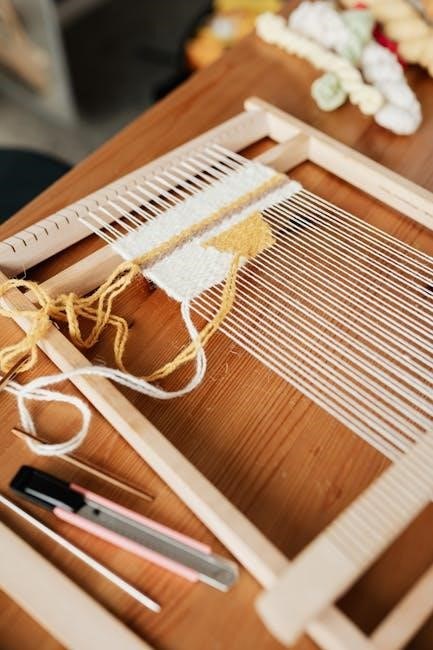
Begin by setting up your loom and selecting your rubber bands. Place the first band on the center peg, then loop it around the side pegs to create the foundation. Use your hook to secure each band tightly, ensuring proper alignment. Continue this process, adding bands row by row, and maintain consistent tension to avoid gaps. This step-by-step approach builds a sturdy base for all projects, making it easier to add complexity later. Practice this technique to ensure a smooth start.
Mastering Essential Skills: Looping and Securing
Looping is the cornerstone of Rainbow Loom crafting. Start by creating small, consistent loops on the pegs. Use your hook to gently pull bands over the pegs, ensuring they are tightly secured. To loop, bring the band under the peg and hook it back up, forming a neat circle. Securing involves passing the last band through the loop to lock it in place. Practice looping and securing to achieve uniform tension and prevent bands from slipping. These skills are vital for creating sturdy and professional-looking designs.
Intermediate Projects
Expand your skills with intermediate projects like the starburst bracelet and charm-making. Detailed instructions guide you through complex patterns, helping you transition from basic to advanced designs effortlessly.
Starburst Bracelet: Detailed Instructions
The starburst bracelet is a popular intermediate project that combines color and technique. Start by creating a foundation with your rubber bands, then strategically place bands diagonally to form the starburst pattern. Use a hook to loop and secure bands precisely, following the step-by-step guide. Clear diagrams and color-coded instructions in the PDF ensure clarity. Experiment with vibrant color combinations to make your bracelet unique. This project is perfect for those ready to elevate their skills and create eye-catching designs with ease.
Creating Charms and Custom Designs
Take your Rainbow Loom skills to the next level by crafting charming accessories and personalized designs. Learn to create small, decorative charms that can embellish bracelets or stand alone. This section guides you through shaping and securing bands to form unique charm designs; Discover how to customize your creations with various colors and patterns, adding a personal touch. Detailed instructions and diagrams help you master the techniques for crafting intricate designs. Perfect for gifting or adding flair to your own jewelry, these custom creations showcase your creativity.
Advanced Techniques
Explore complex patterns and intricate designs with advanced techniques. Master challenging projects like the Hexafish bracelet, requiring precise band management and looping. Detailed guides and diagrams ensure success.
The Hexafish Bracelet: A Comprehensive Guide
Master the intricate Hexafish bracelet with this detailed guide. Learn to manage multiple bands and loops, creating the iconic hexagonal pattern. Step-by-step instructions and clear diagrams ensure accuracy. The guide breaks down complex steps, offering visual aids for proper band placement and looping. Explore variations in color combinations and designs. Troubleshooting tips address common challenges, making this project accessible. Perfect for experienced crafters, this guide enhances your skills, unlocking potential for even more intricate designs. Detailed explanations and clear visuals make mastering the Hexafish bracelet achievable and rewarding.
Exploring Complex Patterns and Designs
Dive into advanced techniques with complex patterns like the Hexafish and dragon scale designs. Learn to layer bands, create intricate weaves, and experiment with color variations. This section guides you through challenging yet rewarding projects, perfect for experienced crafters. Discover how to manipulate bands for unique textures and visual effects. Tips for overcoming common issues and mastering precision are included. Expand your creativity and push the boundaries of what’s possible with the Rainbow Loom, creating truly standout designs that showcase your skill and artistry.
Printable PDF Resources
Access a wide range of downloadable PDF patterns and templates for all skill levels. These resources include detailed instructions, diagrams, and color-coded guides for creating stunning bracelets and designs;
Downloadable Patterns and Templates
Enhance your crafting experience with our extensive collection of downloadable PDF patterns and templates. Designed for all skill levels, these resources offer step-by-step guides for creating stunning bracelets, from simple designs like the classic fishtail to intricate patterns such as the hexafish. Each template includes clear instructions, detailed diagrams, and color-coded illustrations to ensure clarity. Whether you’re a beginner or an advanced crafter, these printable resources provide endless inspiration. Regularly updated with fresh designs, they keep your projects exciting and innovative. Perfect for crafting on the go, these PDFs are easily accessible and adaptable to your preferred method of creation.
Using Video Tutorials for Visual Learning
Supplement your crafting journey with our high-quality video tutorials, designed for all skill levels. From basic bracelets to intricate designs like the hexafish, these videos provide clear, step-by-step guidance. Close-up shots highlight key techniques, while instructors demonstrate methods for various looms. Perfect for visual and kinesthetic learners, the tutorials offer helpful tips and tricks. With the ability to pause and review, you can master each step at your own pace. Accessible online, these videos ensure you never miss a detail, making your Rainbow Loom projects a breeze to complete.
Tools and Materials Checklist
- Rainbow Loom or compatible loom for crafting.
- Colorful rubber bands for creative designs.
- Hook tool for precision band manipulation.
- Scissors to trim excess bands neatly.
- Organizer tray to keep supplies tidy.
Necessary Items for Rainbow Loom Projects
To start crafting, you’ll need a few essential tools. Begin with a Rainbow Loom or a compatible loom, which serves as the foundation for your projects. Gather an assortment of colorful rubber bands to explore various designs and patterns. A hook tool is crucial for manipulating bands with precision, especially for intricate designs. Keep a pair of scissors handy to trim excess bands neatly. Finally, an organizer tray or small container will help keep your bands and tools tidy, ensuring a smooth crafting experience.
Organization Tips for Efficient Crafting
Keep your workspace tidy with practical organization tips. Use a storage container or tray to sort rubber bands by color, ensuring easy access. Designate a specific area for your loom and tools to maintain focus. Regularly clean up leftover bands and store them properly after each project. Label your supplies for quick identification. A well-organized workspace enhances creativity and efficiency, allowing you to concentrate on crafting without distractions. This system saves time and reduces stress, making your crafting experience more enjoyable and productive.
Troubleshooting Common Issues
Troubleshoot common issues like band slippage and uneven tension by adjusting placements and using the correct tools. Patience and practice help master techniques and resolve mistakes effectively.
Solving Band Placement and Tension Problems
Ensuring proper band placement and tension is crucial for successful Rainbow Loom projects. If bands slip off pegs, check their positioning and avoid overstretching. For uneven tension, maintain consistent pressure while placing bands. Using a specialized hook can help manage loops more effectively. If issues persist, gently remove problematic bands and restart the section. Regular practice and adjusting techniques will improve your results. Visit online tutorials for additional tips and solutions to common challenges.
Fixing Mistakes and Adjusting Techniques
Identifying and correcting mistakes is part of the learning process with the Rainbow Loom. If a band is misplaced, carefully remove it using the hook without disturbing surrounding bands. Realign bands as needed, ensuring proper tension and placement. Regularly check your work to catch errors early. For complex mistakes, gently undo the section and restart; Practice patience and adjust your technique gradually. Organizing tools and materials can also help minimize errors. With time, your skills will improve, leading to flawless creations.
Community and Sharing Creations
Join Rainbow Loom communities to share your designs and inspire others. Showcase your creations online, gain inspiration, and learn from fellow crafters. Sharing fosters creativity and connection.
Joining Rainbow Loom Communities
Connecting with Rainbow Loom communities is a great way to share your creations and gain inspiration. Join Facebook groups, forums, or online platforms where enthusiasts showcase their designs and collaborate. These communities offer support, tips, and feedback, helping you refine your skills. Participate in challenges, learn from others, and discover new patterns. Sharing your work fosters creativity and builds connections. Engage in discussions, ask questions, and grow your crafting network. Being part of a community enhances your Rainbow Loom journey and keeps you motivated.
Sharing Your Designs and Learning from Others
Sharing your Rainbow Loom creations with others is a rewarding way to showcase your skills and gain inspiration. Post your designs on social media platforms or crafting forums to connect with fellow enthusiasts. Observing others’ techniques and patterns can spark new ideas and refine your crafting abilities. Learning from others fosters creativity and helps you discover innovative methods. Engage in constructive feedback to improve your designs and explore fresh trends. Sharing and learning within the community enriches your crafting journey and keeps it exciting.