Welcome to the Tru-Bolt Manual‚ your comprehensive guide to installing‚ programming‚ and maintaining the Tru-Bolt electronic door lock. This manual ensures smooth operation and optimal security for your home.
Overview of Tru-Bolt Locks
The Tru-Bolt lock series offers a range of innovative electronic locking solutions designed for enhanced security and convenience. These locks feature keyless entry‚ touchscreen interfaces‚ and biometric options like fingerprint recognition‚ ensuring modern and reliable access control. The Tru-Bolt Gemini Biometric Deadbolt is a standout model‚ combining sleek design with advanced security features. Made from durable materials such as zinc alloy‚ these locks are built to last and resist tampering. They also include anti-rust coatings and motorized deadbolts for added strength. With smart home integration capabilities‚ Tru-Bolt locks provide seamless connectivity and remote monitoring. Their programming options allow users to set custom codes‚ manage access‚ and ensure maximum security for residential and commercial applications. These locks are a perfect blend of functionality‚ durability‚ and cutting-edge technology.
Importance of Following the Manual
Adhering to the Tru-Bolt manual is essential for ensuring the lock operates correctly and securely. Proper installation and programming are critical for maximizing security features and preventing unauthorized access. The manual provides clear‚ step-by-step instructions for setting up user codes‚ managing access‚ and troubleshooting common issues. By following the guidelines‚ users can avoid potential malfunctions and ensure the lock functions as intended. Additionally‚ the manual includes maintenance tips to preserve the lock’s durability and performance over time. Ignoring these instructions could lead to security vulnerabilities‚ operational issues‚ or premature wear. Therefore‚ it is crucial to carefully read and follow the manual to fully benefit from the Tru-Bolt lock’s advanced features and ensure long-term reliability and safety.
Installation Guide
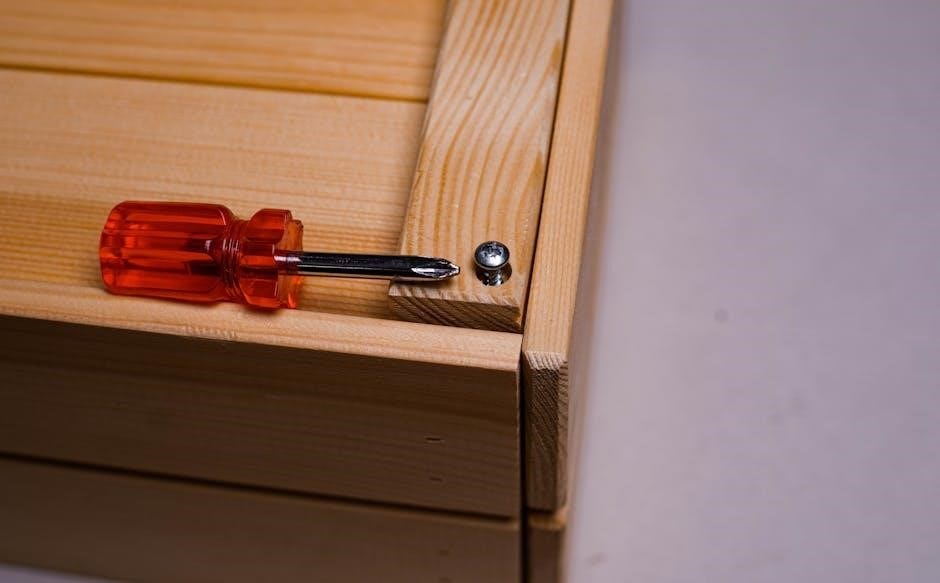
The Tru-Bolt lock installation requires precise steps to ensure proper functionality and security. Use tools like drills‚ bits‚ and screwdrivers for accurate fitting and alignment. Follow the manual carefully to avoid errors and ensure long-lasting performance.
Step-by-Step Installation Process
Begin by preparing the doorframe and ensuring all tools are ready. Step 1: Open the door and inspect the deadbolt strike plate on the doorframe. Step 2: Mark the drilling holes using the provided template. Step 3: Drill pilot holes and secure the exterior faceplate with screws. Step 4: Attach the interior faceplate‚ aligning it with the exterior bolts. Step 5: Connect the cables and tighten all bolts firmly. Step 6: Test the lock by turning the knob and using the keypad to ensure smooth operation. Step 7: Double-check all connections and alignments for proper functionality.
Preparing the Door for Installation
Before installing the Tru-Bolt lock‚ ensure the door is properly prepared. Step 1: Remove any existing door hardware to avoid interference. Step 2: Clean the door and frame to ensure a smooth installation. Step 3: Check the door alignment and adjust if necessary for proper lock fitment; Step 4: Inspect the strike plate on the doorframe and replace it if damaged. Step 5: Mark the drilling locations using the template provided in the manual. Step 6: Ensure the door is open and the deadbolt is retracted before proceeding. Proper preparation ensures a seamless installation and optimal lock performance.
Tools and Materials Required
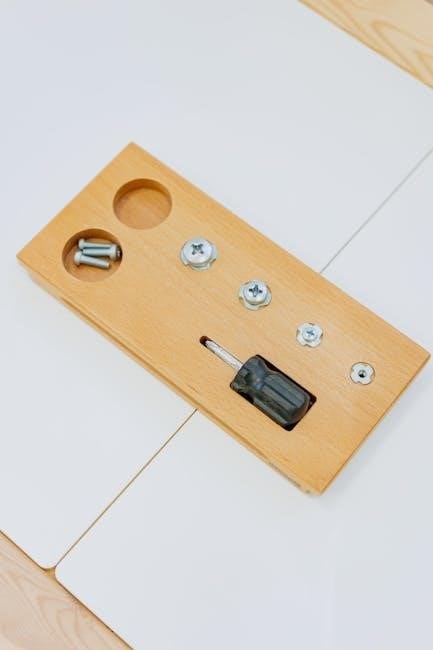
To successfully install the Tru-Bolt lock‚ gather the necessary tools and materials. Tools needed: a drill with bits‚ a router (1 hp minimum)‚ a router bit with a top guide bearing‚ a Phillips screwdriver‚ and a doorframe template. Materials required: screws for mounting‚ a strike plate‚ and the deadbolt assembly. Ensure all components from the lock package are included‚ such as the exterior and interior faceplates. If additional support is needed‚ anchor bolts may be required for securing the lock to the doorframe. Having these tools and materials ready will streamline the installation process and ensure proper fitment of the Tru-Bolt lock.
Programming the Tru-Bolt Lock
Program your Tru-Bolt lock to customize user codes‚ manage access‚ and troubleshoot common issues. Follow the step-by-step guide to ensure secure and convenient operation of your lock.
Setting Up User Codes
To set up user codes for the Tru-Bolt lock‚ start by entering the default code (1234) and press the lock button. You’ll hear a beep and see a green light. Enter your new code‚ press the lock button again‚ and the system will confirm with another beep and green light. Repeat this process to add additional user codes for family members or guests. For security‚ avoid using easily guessable codes. To delete a user code‚ enter the master code‚ press the lock button‚ and then enter the code you wish to remove. Regularly managing and updating codes ensures optimal security for your home.
Managing Access and Security Features
The Tru-Bolt lock offers advanced security features to manage access efficiently. Use the master code to grant or revoke access‚ ensuring only authorized users can lock or unlock the door. The lock supports up to 20 user codes‚ allowing you to assign unique codes to family members‚ guests‚ or service providers. For added convenience‚ enable the NFC feature to unlock the door using a compatible smartphone or key card. The lock also features an anti-rusted 304 handle and mortise coating‚ ensuring durability and resistance to environmental factors. Regularly updating user codes and monitoring access activity helps maintain maximum security for your home.
Troubleshooting Common Programming Issues

Encounter issues while programming your Tru-Bolt lock? Start by restarting the system and ensuring the door is fully closed. If the keypad doesn’t respond‚ check for correct battery installation or try replacing them. For invalid codes‚ verify the master code and ensure it’s entered correctly. If the lock fails to engage‚ inspect the strike plate alignment and adjust it if necessary. For NFC issues‚ ensure your device is compatible and restart your phone. If problems persist‚ reset the lock to factory settings using the master code. Always refer to the manual for detailed steps‚ and if unresolved‚ contact customer support for further assistance.

Features and Benefits
The Tru-Bolt lock offers advanced security‚ convenience‚ and durability. Features include keyless access‚ anti-rust materials‚ NFC compatibility‚ and smart home integration for enhanced control and peace of mind.
Security Enhancements
The Tru-Bolt lock features robust security enhancements‚ including anti-theft mechanisms and tamper-resistant designs. With advanced biometric and keypad options‚ unauthorized access is minimized. The lock also offers unique user codes and secure encryption‚ ensuring your home remains protected. Additionally‚ the system alerts you to potential breaches and provides real-time monitoring for added peace of mind. These features make the Tru-Bolt a reliable choice for securing your property effectively.
Convenience and Smart Integration
The Tru-Bolt lock offers unparalleled convenience with keyless entry and touchscreen functionality. Users can easily program codes and manage access remotely via smartphones. Its smart integration allows seamless connectivity with home automation systems‚ enabling voice commands and remote monitoring. The lock also features cloud storage for secure code management and Bluetooth connectivity for effortless control. Designed for modern lifestyles‚ the Tru-Bolt combines innovation with practicality‚ ensuring your home is both secure and conveniently accessible. These features make it an ideal choice for homeowners seeking a blend of security‚ simplicity‚ and smart technology.
Durability and Maintenance
The Tru-Bolt lock is built to last‚ featuring a robust zinc alloy construction and rust-resistant finishes. Its weatherproof design ensures reliability in various environmental conditions. Regular maintenance is essential to uphold its performance. Clean the keypad and lockbody with a soft cloth and mild detergent to prevent dirt buildup. Lubricate the bolt mechanism annually to ensure smooth operation. Inspect the strike plate and hinges for proper alignment and tighten any loose screws. Replace worn-out parts promptly to maintain security and functionality. By following these simple care routines‚ you can extend the lifespan of your Tru-Bolt lock and ensure it continues to provide reliable service for years to come.

Maintenance and Care
Regularly clean the lock and keypad with a soft cloth to prevent dirt buildup. Lubricate the bolt mechanism annually for smooth operation and longevity.

Cleaning and Lubricating the Lock
Regular cleaning and lubrication are essential to maintain the performance and longevity of your Tru-Bolt lock. Use a soft‚ dry cloth to wipe down the keypad and exterior surfaces‚ removing dirt or debris that may interfere with functionality. For tougher stains‚ a slightly damp cloth can be used‚ but avoid harsh chemicals or abrasive cleaners that might damage the finish.
Lubricate the bolt mechanism annually with a silicone-based spray or oil to ensure smooth operation. Apply a small amount to the moving parts‚ such as the bolt and hinges‚ to prevent friction and wear. Avoid over-lubrication‚ as it may attract dust and dirt. Regular maintenance will help keep your Tru-Bolt lock functioning securely and efficiently for years to come.
Inspecting and Replacing Parts
Regular inspection of your Tru-Bolt lock is crucial to ensure its reliability and security. Start by examining the strike plate on the door frame‚ ensuring it is securely fastened and aligned with the bolt. Check the bolt itself for proper alignment and smooth movement. Inspect the keypad and exterior surfaces for signs of wear or damage. If any parts appear worn or malfunctioning‚ such as the bolt‚ strike plate‚ or keypad‚ they should be replaced promptly.
- Turn off the power supply before performing any replacements.
- Use the provided tools or compatible replacements to ensure proper fit and function.
- Refer to the Tru-Bolt manual for specific instructions on replacing parts.
Regular inspections and timely replacements will maintain the lock’s performance and security.
By following the Tru-Bolt manual‚ you’ve successfully installed‚ programmed‚ and maintained your electronic door lock‚ ensuring optimal security and convenience. This guide has provided step-by-step instructions‚ troubleshooting tips‚ and maintenance advice to keep your lock functioning flawlessly. Regular inspections and timely replacements of parts will extend the lock’s lifespan and reliability. With features like keyless entry‚ smart integration‚ and enhanced security‚ the Tru-Bolt lock offers a modern solution for home safety. Refer to this manual whenever questions arise‚ and enjoy the peace of mind that comes with a secure and well-maintained locking system.