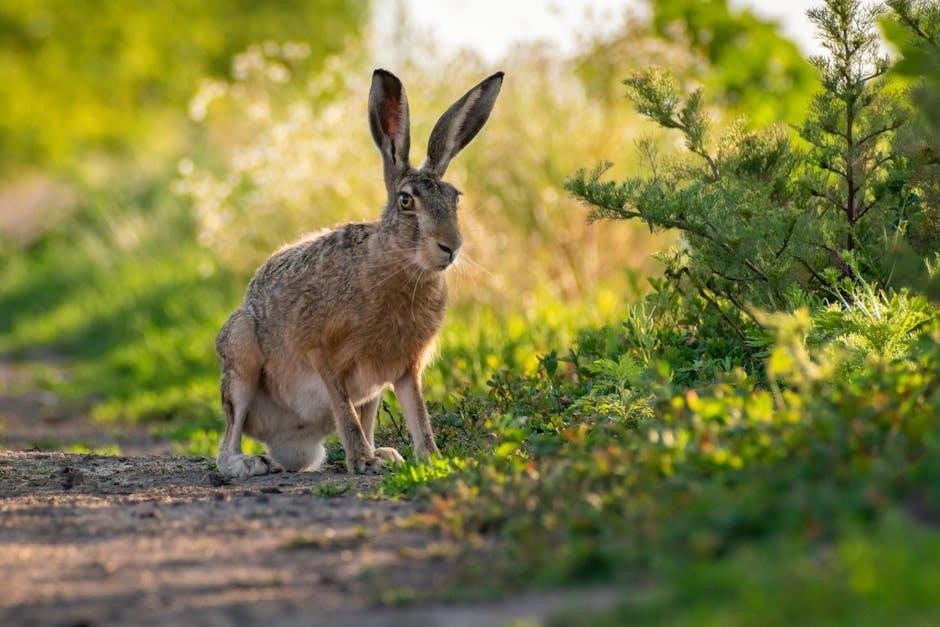
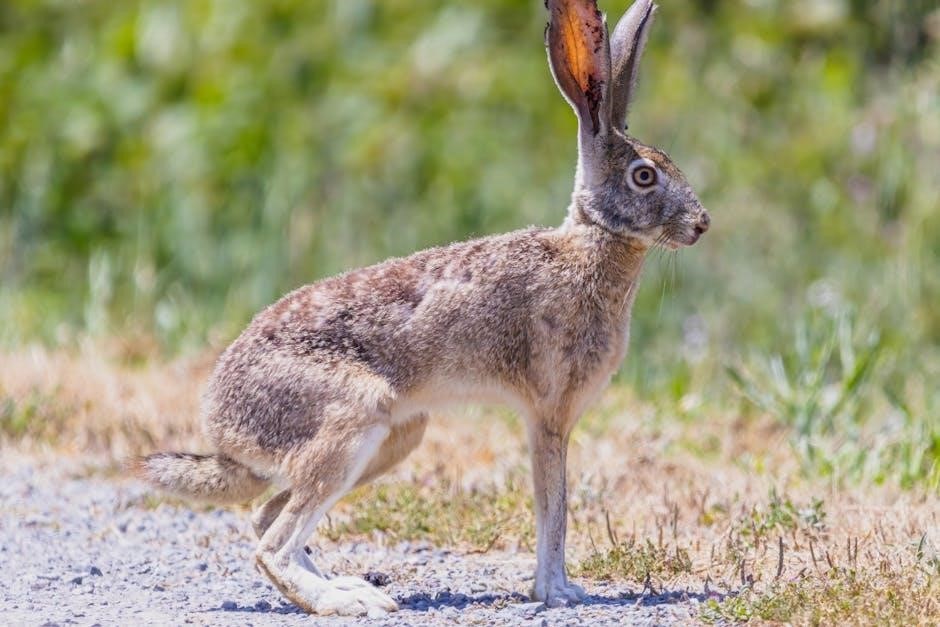
Guides Choice Hares Ear: A Comprehensive Guide
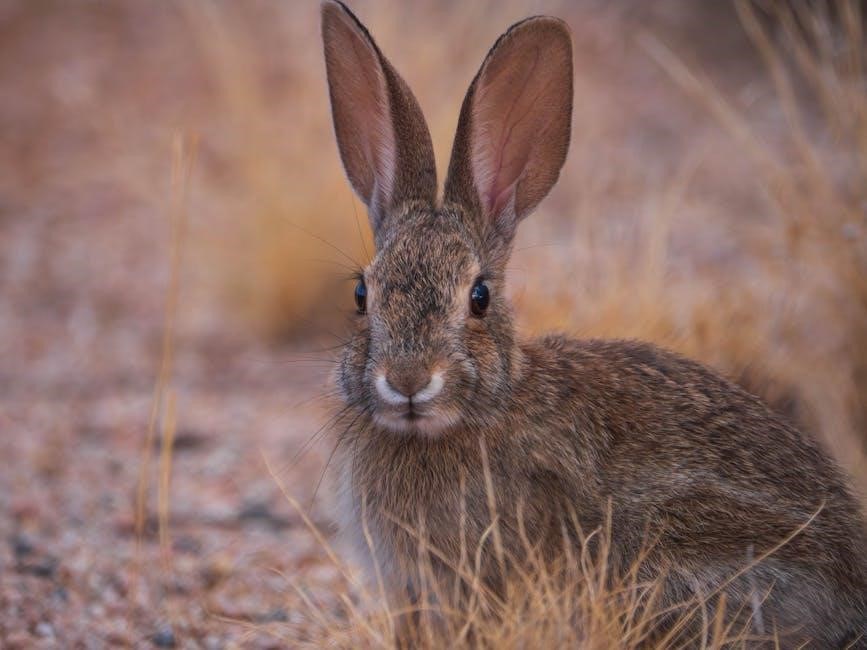
The Hares Ear Nymph stands as a cornerstone pattern, favored by anglers since the 1600s, particularly effective during spring mayfly hatches.
Its versatility mimics various nymph stages, making it a reliable choice across diverse trout waters and a must-have in any fly box.
Historical Background of the Hares Ear Nymph
The lineage of flies utilizing hare’s fur extends remarkably back to the 17th century, with documented patterns appearing as early as 1676. These early iterations, described in texts like “The Compleat Angler,” foreshadowed the modern Hares Ear Nymph we recognize today. However, the pattern’s evolution wasn’t immediate; it underwent significant refinement over the ensuing centuries.
Early versions likely lacked the precise imitation of mayfly nymphs that characterize contemporary Hares Ears. The initial focus was more on utilizing the attractive qualities of the hare’s fur – its translucence and lifelike movement in the water. As entomological understanding deepened, fly tyers began to more accurately replicate the form and characteristics of emerging insects.
The pattern gained prominence throughout the 19th and 20th centuries, becoming a staple in the arsenals of renowned anglers and fly tyers. Its enduring appeal stems from its simplicity, effectiveness, and ability to imitate a wide range of aquatic insects. The Hares Ear’s historical journey reflects a continuous process of observation, adaptation, and refinement, solidifying its place as a timeless classic.
The Hares Ear Nymph’s Effectiveness
The Hares Ear Nymph’s consistent success hinges on its remarkably accurate imitation of mayfly nymphs, a crucial food source for trout. Its subtle translucence, achieved through the use of hare’s mask fur, closely mimics the natural appearance of these insects underwater, fooling even wary fish. This pattern excels particularly during spring hatches, when mayflies are emerging, but its effectiveness extends throughout the season.
Beyond its visual appeal, the Hares Ear’s buggy profile and natural movement contribute to its allure. The soft, mobile fur undulates enticingly in the current, triggering predatory instincts in trout. The gold ribbing adds a touch of flash, further enhancing its attractiveness.
Anglers consistently rely on the Hares Ear as a “go-to” pattern, recognizing its versatility in diverse water conditions. Whether fished deep in fast-flowing rivers or delicately drifted in slower streams, it consistently produces results. Its proven track record and widespread acceptance solidify its status as a highly effective and dependable fly for trout anglers of all skill levels.
Materials Needed for Tying
Essential components include a nymph hook (sizes 8-10), 6/0 dark brown thread, hare’s mask fur, fine gold wire for ribbing, and optionally, pheasant tail fibers for the tail.
Hook Selection for Hares Ear Nymphs
Choosing the right hook is paramount for a successful Hares Ear Nymph. Generally, nymph hooks in sizes 8 to 10 are considered ideal, offering a good balance between presentation and hooking ability. However, the specific size should be adjusted based on the target species and the size of the natural insects in the water.
Look for hooks with a 2x-long shank, providing ample space to tie in the materials and create a realistic profile. A wide gap is also beneficial, enhancing hooking percentages, especially with wary trout. The hook’s wire diameter should be appropriate for the size; thinner wire for smaller flies and thicker wire for larger ones.
Consider the hook’s finish as well. Black nickel hooks are often preferred as they are less visible underwater, reducing the chance of spooking fish. Barbed or barbless options are a matter of personal preference and local regulations. Many anglers now favor barbless hooks for easier catch-and-release practices, minimizing harm to the fish.
Ultimately, a quality nymph hook will ensure your Hares Ear Nymph looks natural, drifts effectively, and consistently delivers solid hooksets.
Hare’s Mask Fiber Preparation
Preparing the hare’s mask is a crucial step in tying a realistic Hares Ear Nymph. Select a high-quality hare’s mask, focusing on the softer, dense fur found around the cheeks. Avoid the coarser guard hairs from the base of the ear, unless intentionally used for a more rugged appearance.
Begin by carefully removing a patch of fur from the mask. Ideally, select around 68 fibers – a generous amount for a full body. Pinch these fibers together, ensuring they are aligned and free of excessive kinky hairs. Gently comb through them to remove any short or stray fibers, creating a clean and manageable bundle.
If the fibers are too long, trim them to a consistent length of approximately 1-1.5 inches. This will make them easier to work with during the tying process. Alternatively, some tiers prefer using pheasant tail fibers for a slimmer, more precise tail, offering a different aesthetic.
Proper preparation ensures a smooth, even body and contributes significantly to the fly’s overall effectiveness.
Gold Ribbing Wire: Types and Sizes
Gold ribbing is a signature element of the Hares Ear Nymph, adding subtle flash and structural integrity to the fly. When selecting gold ribbing wire, anglers have several options, primarily differing in gauge and material composition.
Fine gold wire is the most common choice, typically ranging from 6x to 8x. The “x” refers to the wire’s diameter, with higher numbers indicating thinner wire. A 7x gold wire strikes a good balance between visibility and delicacy, mimicking the natural segmentation of a mayfly nymph. Tinned copper wire plated with gold is a popular and durable option.
Some tiers prefer using oval or flat gold wire for a more pronounced ribbing effect. This can be particularly effective in larger fly sizes or when fishing in murky water conditions. However, round wire generally provides a more subtle and natural appearance.
Ensure the wire is pliable and easy to work with, avoiding overly stiff or brittle options. Proper ribbing enhances the fly’s realism and durability, contributing to its effectiveness.
Thread Choices for Durability
Selecting the right thread is crucial for tying durable Hares Ear Nymphs that withstand repeated use and aggressive fish. The thread serves as the foundation of the fly, securing materials and providing structural integrity. Dark brown 6/0 thread is a widely recommended choice for most Hares Ear variations, blending seamlessly with the hare’s fur body.
However, other thread colors like olive or black can also be effective, depending on the specific shade of hare’s mask used. The “6/0” designation refers to the thread’s size; a smaller number indicates a thicker thread. 6/0 provides a good balance between strength and manageability for nymph tying.
Modern synthetic threads, such as UTC Ultra Thread or Veevus, offer superior strength and resistance to abrasion compared to traditional silk threads. These materials maintain their strength even when wet, ensuring the fly doesn’t unravel during use.
Proper thread control and consistent wraps are essential for creating a secure and long-lasting fly. A quality thread significantly extends the lifespan of your Hares Ear Nymphs.
Tail Materials: Hare’s Mask vs. Pheasant Tail
The tail of a Hares Ear Nymph is a critical component, influencing its profile and movement in the water. Traditionally, fibers sourced directly from a hare’s mask are favored, providing a natural, bushy tail that closely imitates the tapered abdomen of a mayfly nymph. Selecting 6-8 fibers from the base of the ear, avoiding the coarser guard hairs, is key.
However, pheasant tail fibers present a viable alternative, particularly for anglers seeking a slimmer, more precise tail. Pheasant tail offers increased stiffness and allows for greater control over the tail’s length and shape. This can be advantageous when tying smaller nymph patterns or when a more delicate presentation is desired.
Using hare’s mask creates a more subtle, natural movement, while pheasant tail provides a more defined silhouette. The choice often depends on personal preference and the specific water conditions. Both materials effectively mimic the natural insect, offering anglers reliable options for tail construction.
Tying the Classic Hares Ear Nymph
Constructing this nymph involves securing the tail, forming a gold rib, building the body with hare’s fur, creating a wing case, and finalizing with a neat head formation.
Step 1: Securing the Tail
Initiating the tying process centers around establishing a robust and proportionate tail. Anglers typically select 6-8 fibers from a hare’s mask, prioritizing those from the base of the ear, as these possess the desired texture and length. Alternatively, for a more streamlined profile, pheasant tail fibers present a viable option, offering increased precision.
Before securing them to the hook – commonly a size 8 or 10 nymph hook – carefully pinch the selected fibers together, ensuring they are aligned and of uniform length. This consolidation prevents a messy or uneven tail. Position the fibers at the bend of the hook, and with dark brown (6/0) thread, make several firm, overlapping wraps to firmly anchor the tail in place.
Maintain consistent tension throughout this step to prevent slippage. The tail length should ideally extend approximately one-third of the body length, mirroring the natural proportions of a mayfly nymph. A well-secured tail is crucial, as it serves as a visual trigger for trout and provides a foundation for subsequent tying steps.
Step 2: Creating the Gold Rib
Following the tail’s securement, the next crucial step involves incorporating the gold ribbing, a signature element of the Hares Ear Nymph. This feature not only adds visual appeal but also reinforces the fly’s durability. Select a fine gold wire, ensuring it’s proportionate to the hook size – avoid overly thick wire that might impede the fly’s natural movement.
Secure the gold wire to the hook shank just behind the tail base, using the same dark brown (6/0) thread. Make several neat wraps forward, along the hook shank, creating a smooth and even rib. Maintain slight tension on the wire to prevent it from bunching or twisting. The ribbing should extend approximately two-thirds of the way down the hook shank, preparing for the body construction phase.
Tie off the gold wire securely with several thread wraps, then trim the excess wire close to the thread. This creates a clean finish and prevents the wire from interfering with subsequent tying steps. A properly applied gold rib adds both structural integrity and a subtle flash that can entice trout.
Step 3: Body Construction with Hare’s Fur
With the gold ribbing in place, the body construction begins, utilizing the distinctive hare’s mask fur. Select approximately 68 fibers from a hare’s mask, focusing on the softer, denser fur and discarding the coarser guard hairs from the base of the ear. Alternatively, for a slimmer profile, pheasant tail fibers can be employed, though the hare’s fur provides a more authentic texture.
Pinch the selected fibers together, ensuring a uniform distribution, and tie them in at the tail base with firm thread wraps. Wrap the hare’s fur forward, creating a slightly tapered body. Avoid excessive bulk, as a slender profile is crucial for imitating natural mayfly nymphs. Multiple, neat wraps are preferable to a single, thick layer.
Continue wrapping the fur forward, building up the body to the desired thickness; Tie off the fur securely, and trim any excess. The goal is a full, yet streamlined body that mimics the abdomen of a mayfly nymph, providing a realistic silhouette in the water.
Step 4: Wing Case Formation
Creating the wing case is a defining feature of the Hares Ear Nymph, providing the fly with its characteristic shape and suggestive of an emerging insect. A mottled turkey feather is commonly used for this purpose, offering a natural appearance and appropriate size. Select a small, appropriately sized section of the feather, ensuring the mottling provides realistic coloration.
Tie in the feather section directly behind the hook eye, with the curved side facing upwards to create the arched shape of a nymph’s wing case. Secure it firmly with several thread wraps, ensuring it doesn’t slip during subsequent tying steps. Trim any excess feather material, leaving a small, defined wing case.
The size and shape of the wing case are crucial; it should be proportionate to the body and suggest the developing wings of a mayfly nymph. A well-formed wing case adds to the fly’s realism and increases its attractiveness to trout, mimicking a vulnerable, emerging insect.
Step 5: Finishing and Head Formation
Completing the fly involves forming a neat, proportional head and securing the thread. Apply a small amount of head cement or UV resin to the thread wraps behind the eye, building a smooth, durable head. This reinforces the structure and prevents unraveling during use. Ensure the head isn’t excessively large, maintaining the fly’s overall balance and natural profile.
Whip finish the thread, creating a secure knot that locks everything in place. Trim the excess thread close to the knot, avoiding any loose ends that could interfere with the fly’s presentation. A clean finish is essential for both aesthetics and functionality.
Finally, inspect the fly for any imperfections and make minor adjustments as needed. A well-tied Hares Ear Nymph should exhibit a balanced shape, secure construction, and realistic appearance, ready to entice trout in various fishing conditions. Proper finishing ensures longevity and effectiveness.
Variations of the Hares Ear Nymph
Numerous adaptations exist, including winged versions for dry fly fishing and gold-ribbed wingcase patterns. Adjustments cater to diverse water conditions and trout feeding habits, enhancing effectiveness.
Winged Hares Ear Dry Fly
The Winged Hares Ear Dry Fly represents a beautiful evolution of the classic nymph pattern, designed to imitate emerging mayfly nymphs rising to the surface. This variation retains the core elements of the original – the hares ear dubbing body – but adds delicate wings to suggest an insect in its final transformation stage.
Tying instructions typically involve securing a mottled turkey feather for the wings, carefully positioned to create a realistic silhouette. The body is formed using the soft, dense fur from the hares mask, providing both buoyancy and a natural appearance. A gold ribbing wire is often incorporated, adding subtle segmentation and durability to the fly.
Anglers find this pattern particularly effective during mayfly hatches when trout are actively targeting emerging insects. The wings trigger a visual response from the fish, while the hares ear body provides a familiar and enticing food source. It’s a versatile fly, capable of fooling selective trout in a variety of conditions, and a testament to the enduring legacy of the Hares Ear family of flies.
Gold Ribbed Hares Ear Wingcase
The Gold Ribbed Hares Ear Wingcase is a highly effective nymph pattern, meticulously designed to mimic the natural shape and profile of a mayfly nymph preparing to emerge. This variation builds upon the classic Hares Ear nymph by incorporating a prominent wingcase, created using mottled turkey feathers, and reinforced with fine gold wire.
The gold ribbing isn’t merely aesthetic; it adds crucial segmentation to the body, enhancing the fly’s realism and providing increased durability during active fishing. Tying this pattern requires careful attention to detail, ensuring the wingcase is properly positioned and the gold wire is applied smoothly and evenly along the body length.
Anglers favor this fly when targeting trout in rivers and streams where mayfly nymphs are prevalent. The wingcase suggests an insect nearing emergence, triggering a predatory response from trout. It’s particularly effective when fished subsurface, allowing it to drift naturally with the current, presenting a tempting meal to unsuspecting fish. This pattern remains a staple for many fly fishers.
Hares Ear Nymph for Different Water Conditions
The Hares Ear Nymph’s adaptability shines when considering varying water conditions. In clear, slow-moving streams, a slimmer profile, achieved with carefully selected hare’s mask fibers or even pheasant tail, proves most effective. This subtlety mimics the natural nymphs found in pristine environments.
Conversely, in faster, more turbulent waters or those with lower visibility, a slightly bulkier body, utilizing more of the hare’s fur, creates a more visible silhouette for trout. Adjusting the weight is also crucial; adding tungsten beads for quicker descent in faster currents or using lighter beads for a more natural drift in slower flows.
During spring hatches, when mayfly nymphs are abundant, the Hares Ear excels. However, it remains a viable option throughout the season, even when targeting other insect life. Experimenting with different colors and sizes allows anglers to match the hatch and maximize their success, proving its versatility across diverse aquatic ecosystems.
Fishing Techniques with the Hares Ear Nymph
Effective techniques involve a dead-drift presentation, allowing the fly to tumble naturally with the current. Utilize indicators or Euro nymphing for precise control and detection of subtle strikes.
Effective Drift Methods
Achieving a natural drift is paramount when fishing the Hares Ear Nymph. Trout are adept at recognizing unnatural movements, so mimicking the way a real nymph travels in the current is crucial for success. A dead-drift presentation, where the fly floats freely without drag, is the most effective method.
Utilizing an indicator allows you to visually track the drift and detect subtle strikes. Adjust the indicator depth to match the water depth and current speed. Alternatively, Euro nymphing techniques, employing a long, sensitive leader and no indicator, provide direct contact with the fly, enabling you to feel even the slightest takes. This method excels in faster currents and deeper runs.
Mending your line is essential to counteract drag caused by differing current speeds. By lifting and repositioning the fly line, you can extend the drag-free drift and present the nymph more naturally to the trout. Pay attention to how the current interacts with your line and adjust your mend accordingly. Subtle drifts often yield the best results, so focus on presenting the fly in a realistic manner.
Best Times to Fish the Hares Ear Nymph
The Hares Ear Nymph truly shines during spring, coinciding with the emergence of mayfly nymphs. As water temperatures rise, trout actively feed on these emerging insects, making the Hares Ear an irresistible choice. However, its effectiveness extends beyond spring, proving valuable throughout the season.
Cloudy days and low-light conditions often trigger increased nymph activity, enhancing the fly’s appeal. During these times, trout are less wary and more likely to feed. Focus on fishing during periods of insect activity, observing the water for rising fish or visible nymphs.
Early morning and late evening are prime feeding times, as trout are often more active during these cooler periods. Targeting runs, riffles, and seams – areas where current breaks and food accumulates – will increase your chances of success. Don’t hesitate to experiment with different depths and drift speeds to find what the trout are responding to on any given day.